
GelaSkins laptop skins are an excellent way to personalize and protect your device. They come in a variety of designs, allowing you to express your unique style. Let’s walk you through the process of applying and removing your laptop skin!

Applying Your Laptop Skin:
- Keep your cool:
Before you begin the application process, ensure that both the laptop skin and your device are nice and cool, resting around room temperature or lower. This allows you to slide the skin around and align it more easily. So, find a comfortable, cool spot to work in, and make sure your laptop has had time to cool down if it typically overheats during use.
- Light the way:
Proper lighting is key to achieving a precise and well-aligned laptop skin. Natural daylight or a well-lit room will help you clearly see the edges and details of your skin, ensuring a flawless application.
- Wipe Everything Down:
Start by preparing your laptop. Use the included wipe with a little bit of hand sanitizer to thoroughly clean the surface you're about to cover with the skin. This step is crucial as it removes any dirt, dust, or residue that might prevent the skin from adhering properly. Ensure your laptop is completely dry before proceeding.
- Align with purpose:
Once your laptop is clean and ready, it's time to align the skin. Carefully position the skin over your laptop, ensuring it matches the contours and edges accurately. Take your time in this step to get it just right.
- Smooth criminal:
As you apply the skin, use your hands or a small cloth to gently press it down. This step ensures that the skin adheres uniformly without air bubbles or creases. Start from the center and work your way out to the edges, using even pressure. And huzzah! You should be left with a beautifully covered laptop.

Removing Your Laptop Skin:
- Warm and Ready:
The best time to remove your laptop skin is after a hard day’s use. Being warmed up from a vigorous day of typing will allow your laptop skin to be pulled off smoothly without too much resistance.
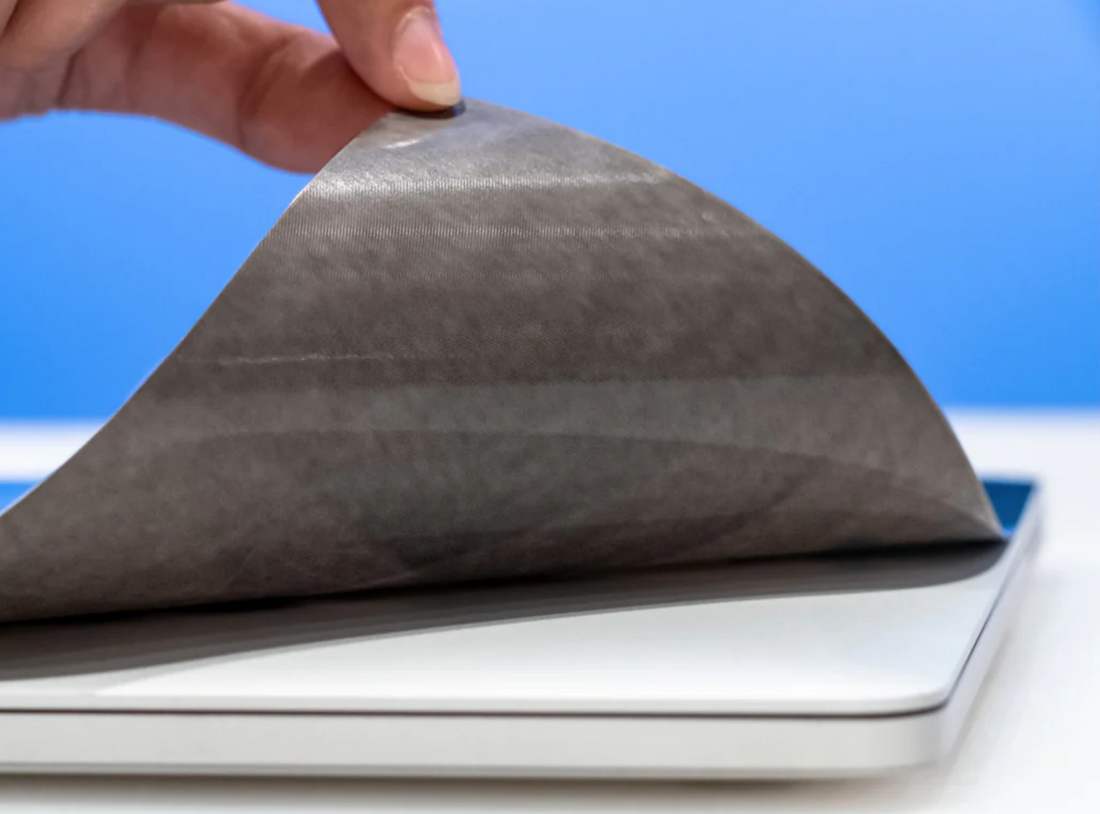
- Easy Removal:
One of the fantastic aspects of our laptop skins is that they are easy to remove. You simply peel it off. At most, there may be some everyday grime leftover around the edges of where the GelaSkin once lived on your device, but fear not, it wipes off easily with a microfibre cloth, alcohol wipe, or a dry to very slightly damp paper towel.
- Begin at a Corner:
To remove the skin, start at one corner or edge. Gently lift the skin using your fingernail and peel back. The skin should come off smoothly, especially if you applied it correctly and haven't allowed it to bond excessively over time.
- Clean Up:
After removing the skin, wipe down your laptop with a clean cloth to ensure there is no adhesive residue left. Your laptop's surface should be as good as new!
Applying and removing your GelaSkins laptop skin can be super straightforward and satisfying when done correctly. Remember to work in a cool, well-lit environment, clean your laptop before applying the skin, and align it with care. When it's time to remove the skin, rest assured that it's a hassle-free process. With these tips in mind, you can personalize and protect your laptop with ease using a wide range of GelaSkins designs, and you can even customize your own.